Hi Everyone!
Here are a number of photos from one of the firings I did in June. I will try to post more when I have time, as we are keeping very busy now trying to get things ready for some of the art shows. I hope you enjoy the pottery photos!

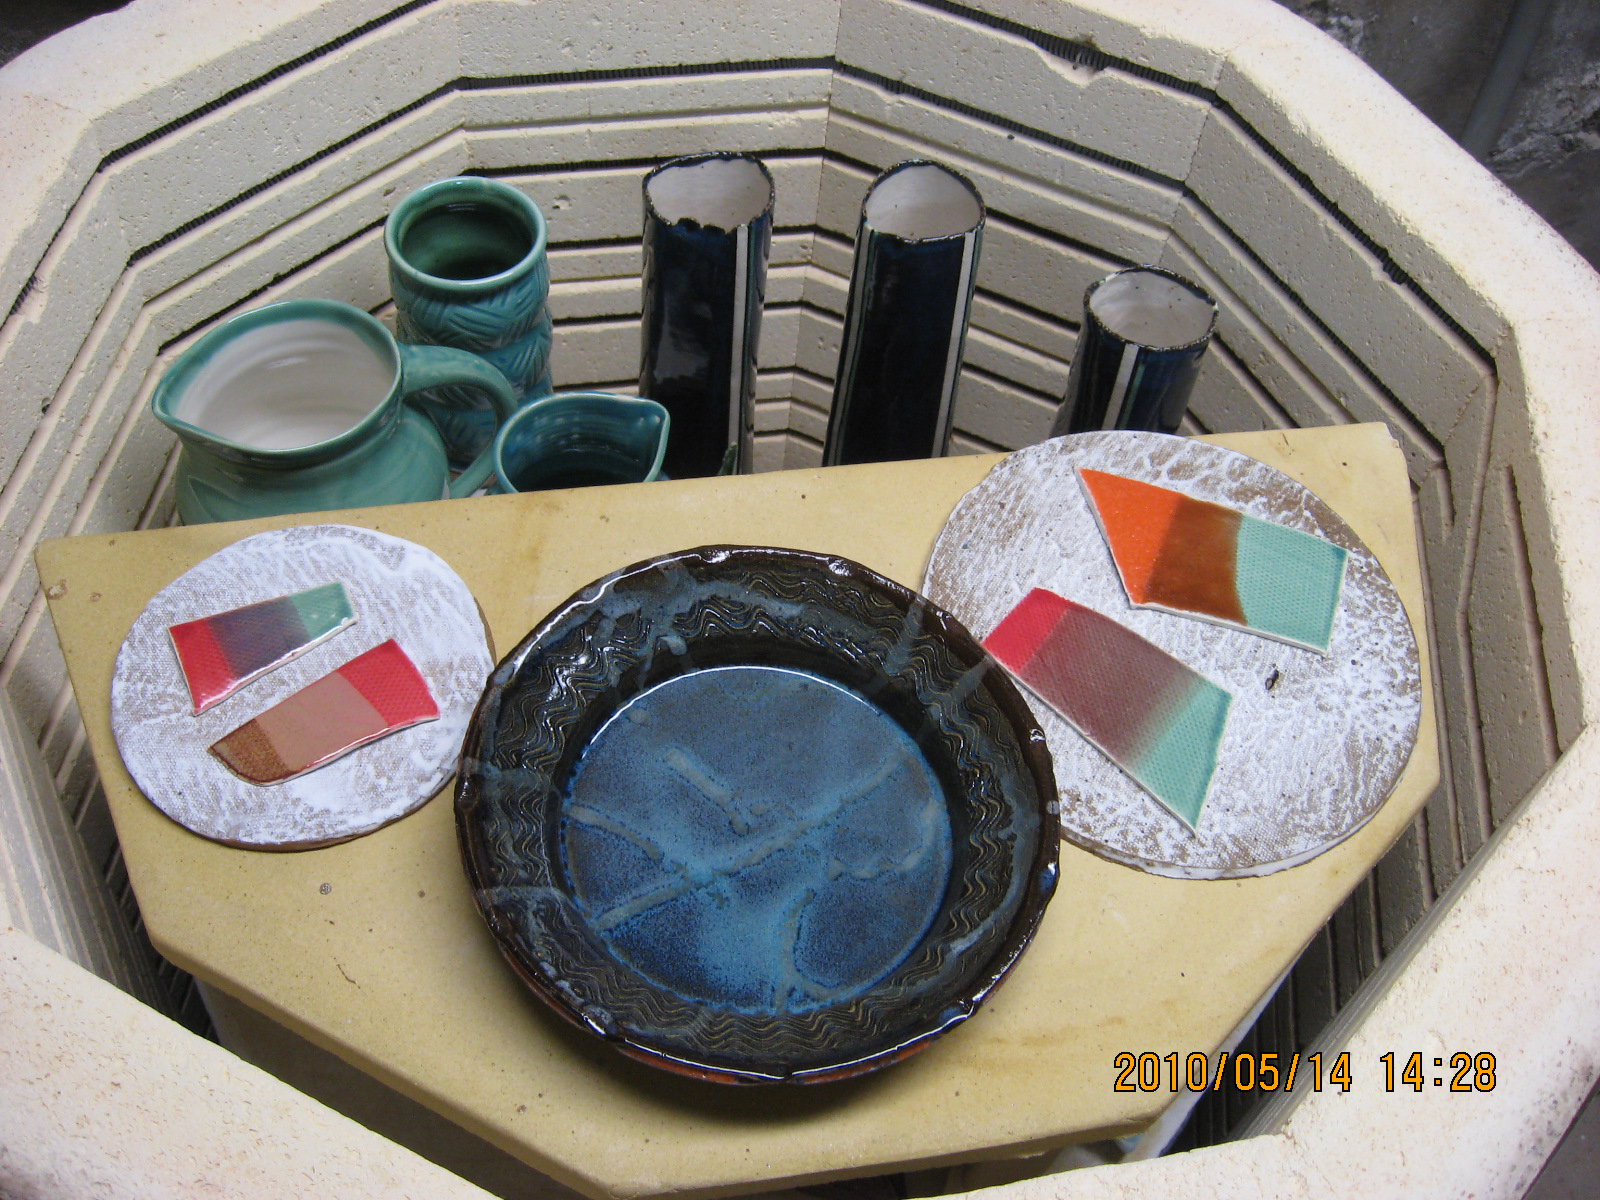
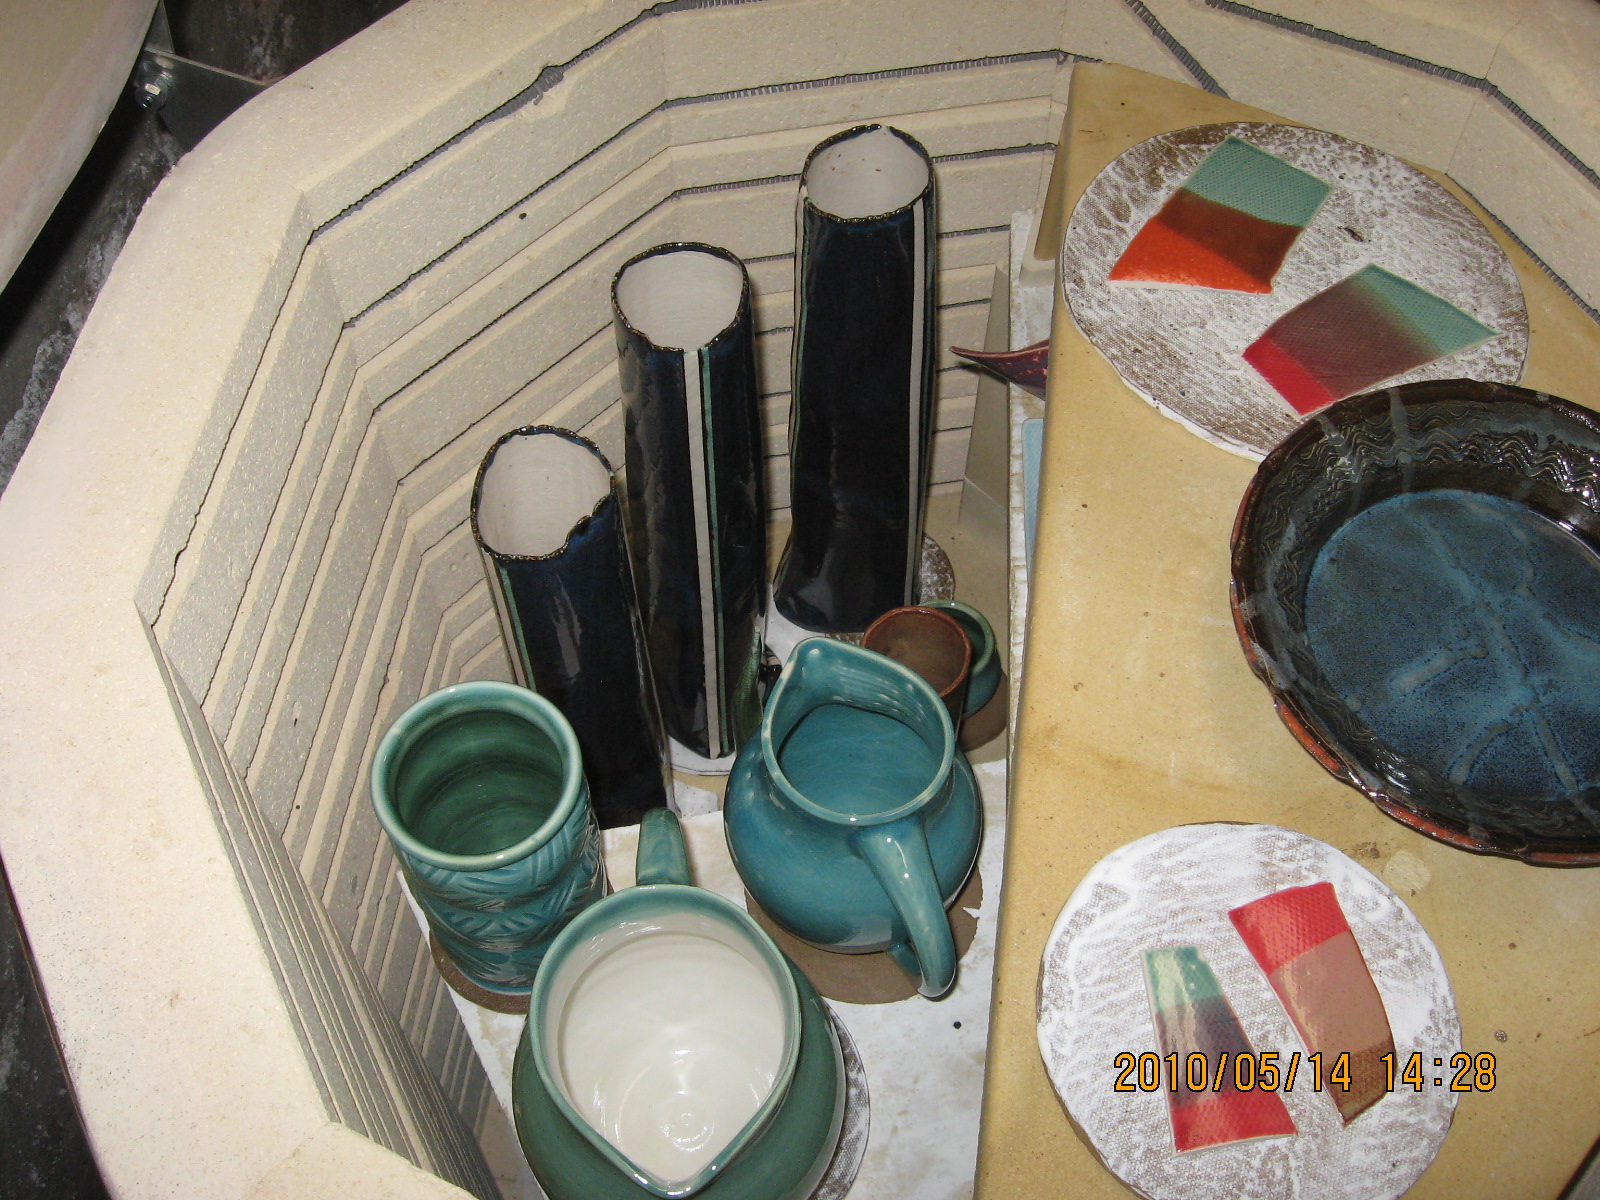
The above photos shows some of the warm pottery as it is coming out of the kiln. I heated the kiln to around 2230 degrees F, so it takes a while for it to cool down. I usually allow about 24 hours for it to cool enough to handle the pottery.

Here is the results of the firing stacked on the larger kiln, although this load came from my smaller kiln. It has a nice vent system so that the heat is sent outside instead of into the house. In the summer, this sure helps in keeping the house cooler!

Here is a fancy bowl with carving for a decorative effect.

This large cone vase has many glazes on it to help give it a very bright feel.

The above cone vase is about the same size as the colorful one, but doesn't have the stablizing foot... this one may be difficult to sell and will probably just be added to my own collection instead.

This Asian frog vase still needs the flower frog to be glued into the bottom. It is a great way to display single stem flowers like orchids or lilies since the flower frog holds the stem of the flower straight.

I call this shape a "square bowl". I really like the shape and hope to make more of them soon.

This mug has a plant carved into the sides. Then a dark green glaze was used to highlight the carving, then dipped in a lighter green glaze.

Another mug using some newer glazes. Coffee anyone? :D

This medium-sized bowl has carving on the outside similar to some early 1900 pottery I found on the internet. Just had to try it myself! LOL.

Here's another look at one of the cone vases. I wanted to take a portrait oriented photo to see if it displayed the piece better.
Feel free to post your comments and constructive criticisms. I hope you enjoyed the pictures!
Carl
 Starting the kiln with a low flame to heat and dry the wares.
 I put the fuel tank on the other side of bench so that it was not near the heat.
 I prepped a bucket of hay/straw to be used as a reduction chamber. I also sprinkled in a little compost later to make things interesting.
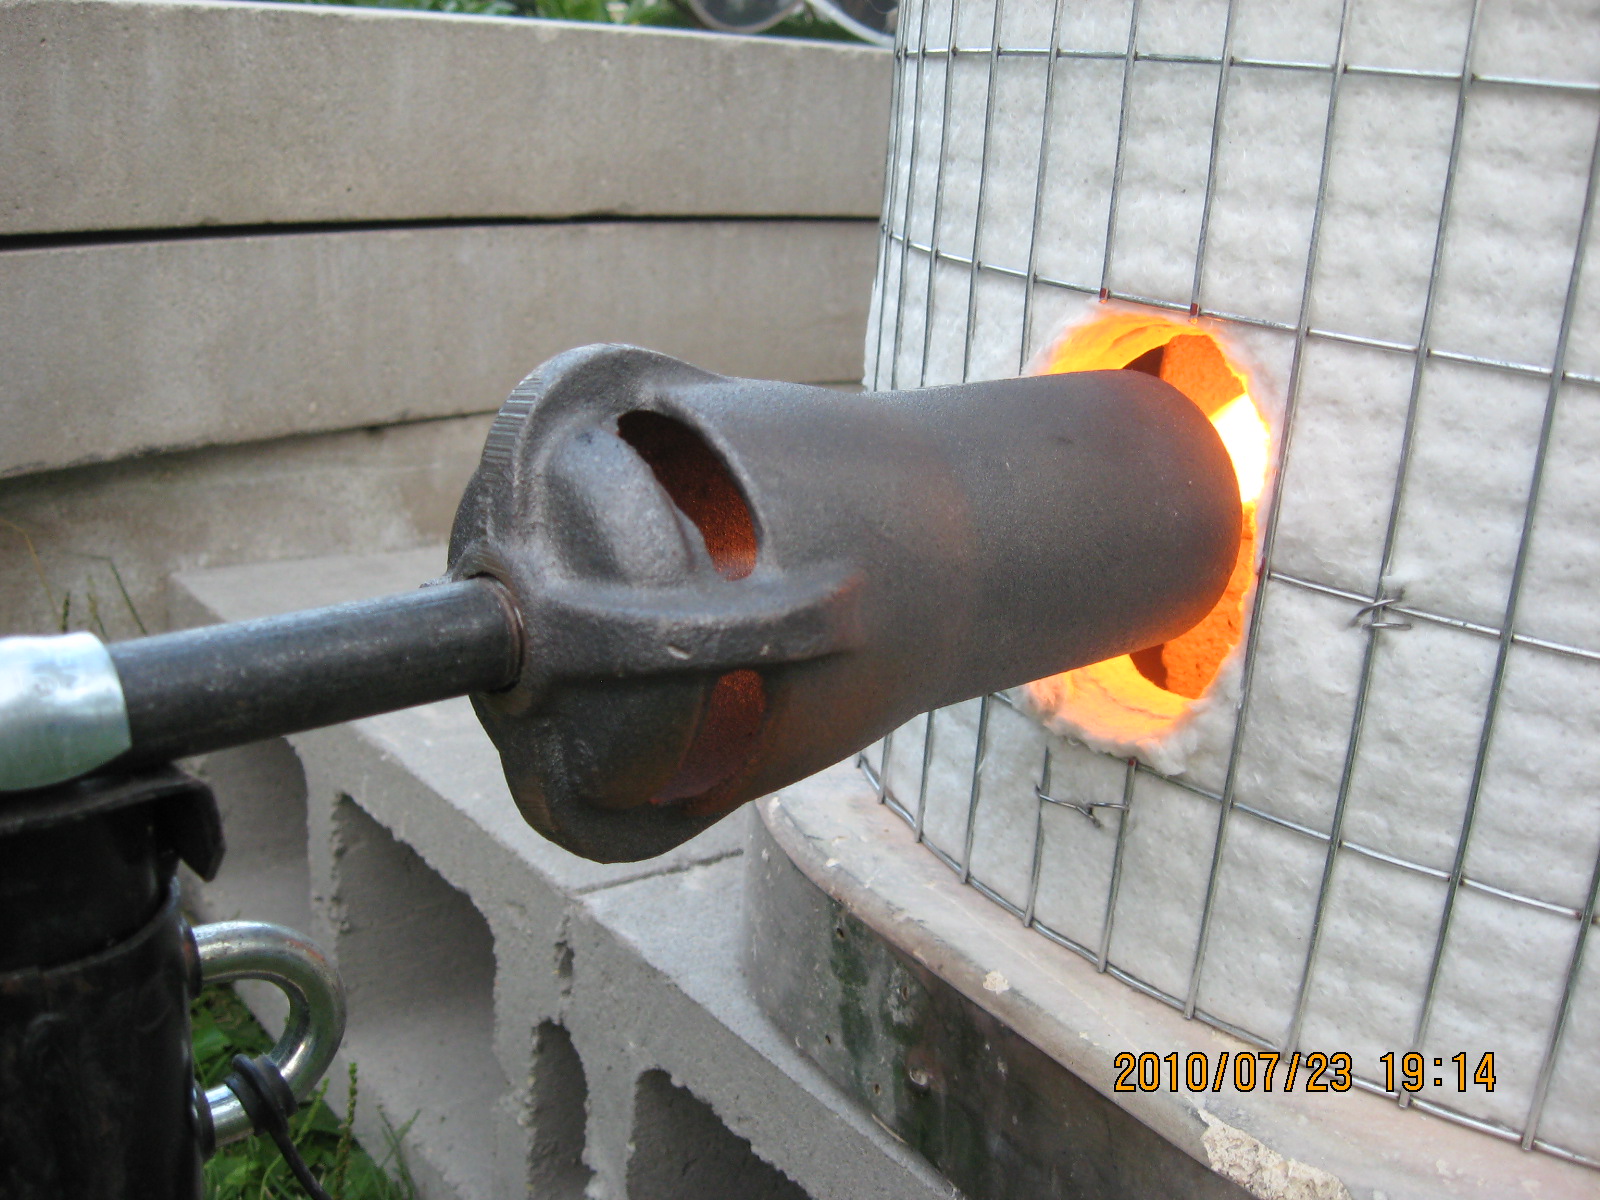
 Here's a close-up of the burner on low.
 And a peek through the tempered glass window. You can see the soot build up on the pots while they are slowly being heated. Later the soot will burn away at the higher temperatures.
 This little bird was busy watching the activities and chirping loudly for almost an hour. Not sure what it said, but hopefully it was cheering me on!
 I set up the 'nest' for the horse hair action. You can see the package of horse hair on the bench to the right of the soft brick 'nest'.
 Another look through the tempered glass window. Things are starting to warm up.
 Here's a look at the burner closer to the final temperature. It's starting to glow red hot.
 Another look at the layout.
 The temperature has climbed enough now to make everything inside the kiln glow orange.
 Another look inside at the wares. You can see one of the ceramic buttons holding the fiber blanket to the wire fence body.
 Here's the vase after the horse hair has been applied. Love the squiggles!
 Here is the setup of the bricks inside the kiln.
 Here's a photo of the other piece that was in the kiln. I think it came out nicely.
 A couple of photo studio shots of the horse hair vase.
 And one more of the decorative crock.