Here are photos of my home-built Raku kiln in action. The kiln body is made of fiber blanket attached to wire fencing using ceramic buttons I made. The bottom is an old lid of a recycled kiln. The burner was purchased new.

Starting the kiln with a low flame to heat and dry the wares.

I put the fuel tank on the other side of bench so that it was not near the heat.

I prepped a bucket of hay/straw to be used as a reduction chamber. I also sprinkled in a little compost later to make things interesting.

Here's a close-up of the burner on low.

And a peek through the tempered glass window. You can see the soot build up on the pots while they are slowly being heated. Later the soot will burn away at the higher temperatures.

This little bird was busy watching the activities and chirping loudly for almost an hour. Not sure what it said, but hopefully it was cheering me on!

I set up the 'nest' for the horse hair action. You can see the package of horse hair on the bench to the right of the soft brick 'nest'.

Another look through the tempered glass window. Things are starting to warm up.

Here's a look at the burner closer to the final temperature. It's starting to glow red hot.

Another look at the layout.

The temperature has climbed enough now to make everything inside the kiln glow orange.

Another look inside at the wares. You can see one of the ceramic buttons holding the fiber blanket to the wire fence body.

Here's the vase after the horse hair has been applied. Love the squiggles!

Here is the setup of the bricks inside the kiln.

Here's a photo of the other piece that was in the kiln. I think it came out nicely.

A couple of photo studio shots of the horse hair vase.


And one more of the decorative crock.
 Starting the kiln with a low flame to heat and dry the wares.
 I put the fuel tank on the other side of bench so that it was not near the heat.
 I prepped a bucket of hay/straw to be used as a reduction chamber. I also sprinkled in a little compost later to make things interesting.
 Here's a close-up of the burner on low.
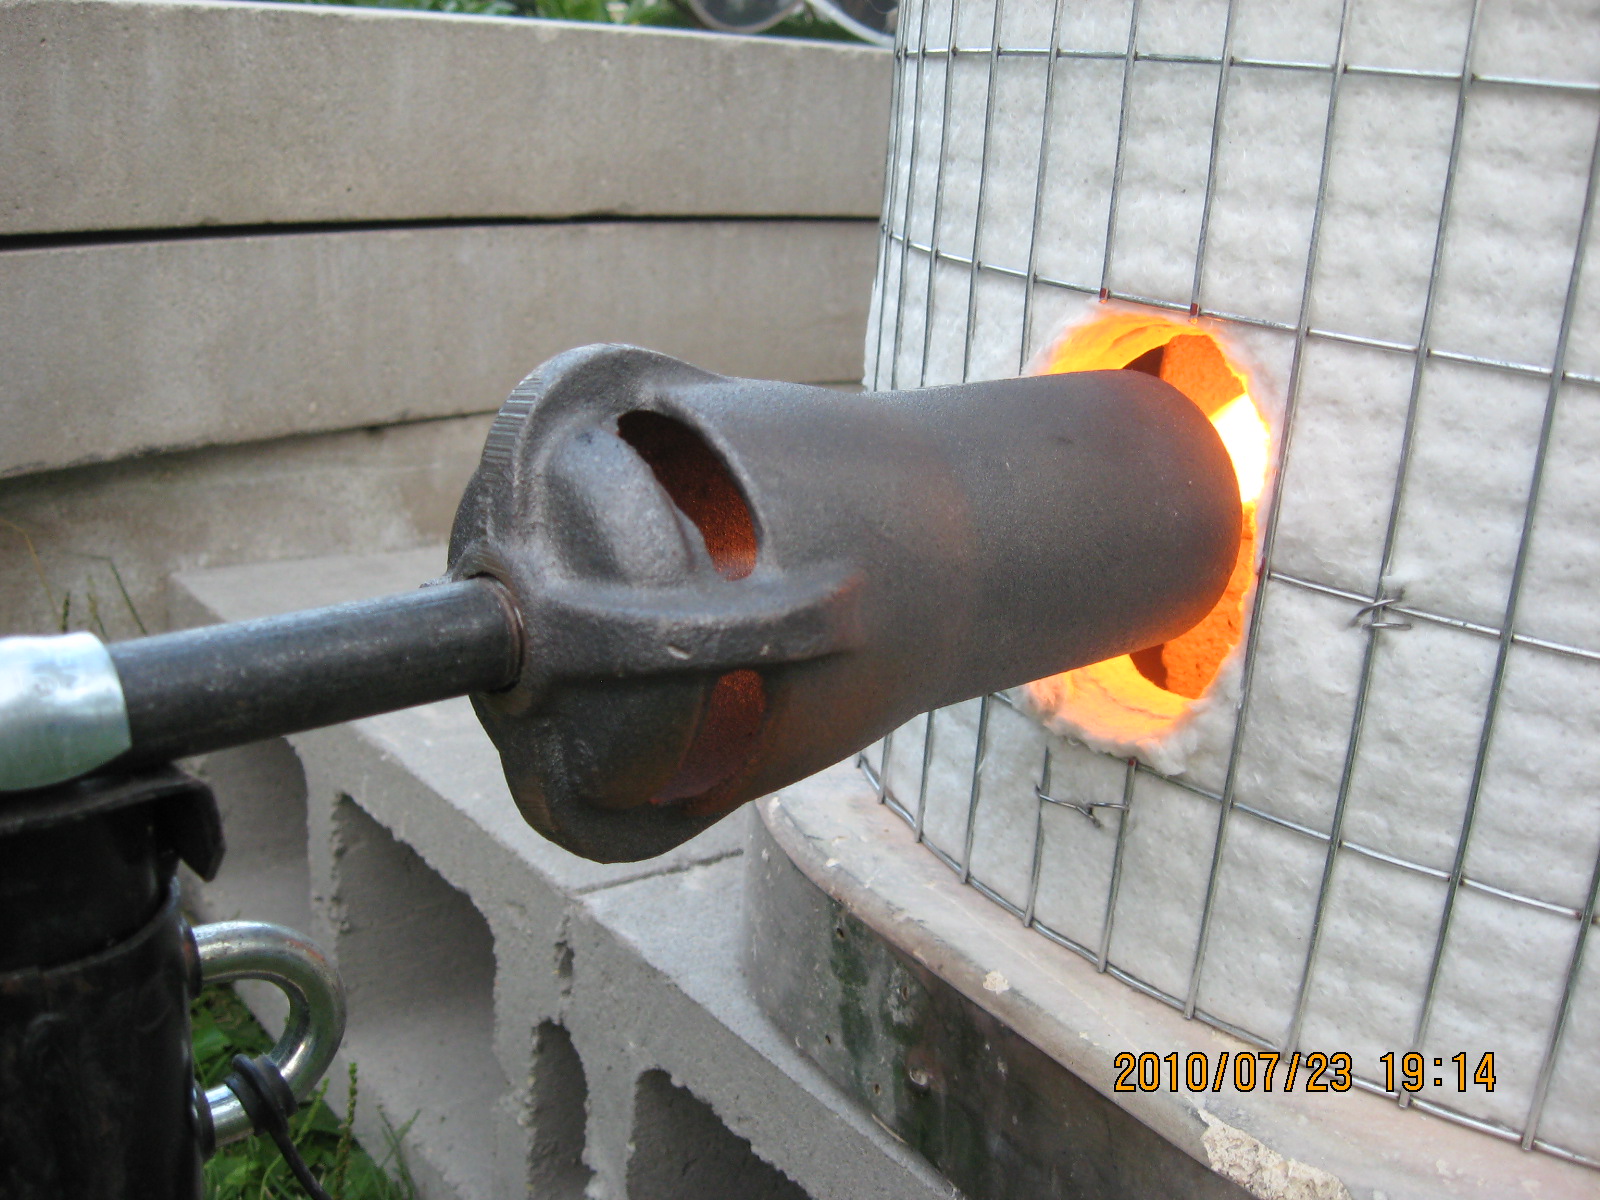 And a peek through the tempered glass window. You can see the soot build up on the pots while they are slowly being heated. Later the soot will burn away at the higher temperatures.
 This little bird was busy watching the activities and chirping loudly for almost an hour. Not sure what it said, but hopefully it was cheering me on!
 I set up the 'nest' for the horse hair action. You can see the package of horse hair on the bench to the right of the soft brick 'nest'.
 Another look through the tempered glass window. Things are starting to warm up.
 Here's a look at the burner closer to the final temperature. It's starting to glow red hot.
 Another look at the layout.
 The temperature has climbed enough now to make everything inside the kiln glow orange.
 Another look inside at the wares. You can see one of the ceramic buttons holding the fiber blanket to the wire fence body.
 Here's the vase after the horse hair has been applied. Love the squiggles!
 Here is the setup of the bricks inside the kiln.
 Here's a photo of the other piece that was in the kiln. I think it came out nicely.
 A couple of photo studio shots of the horse hair vase.
 And one more of the decorative crock.